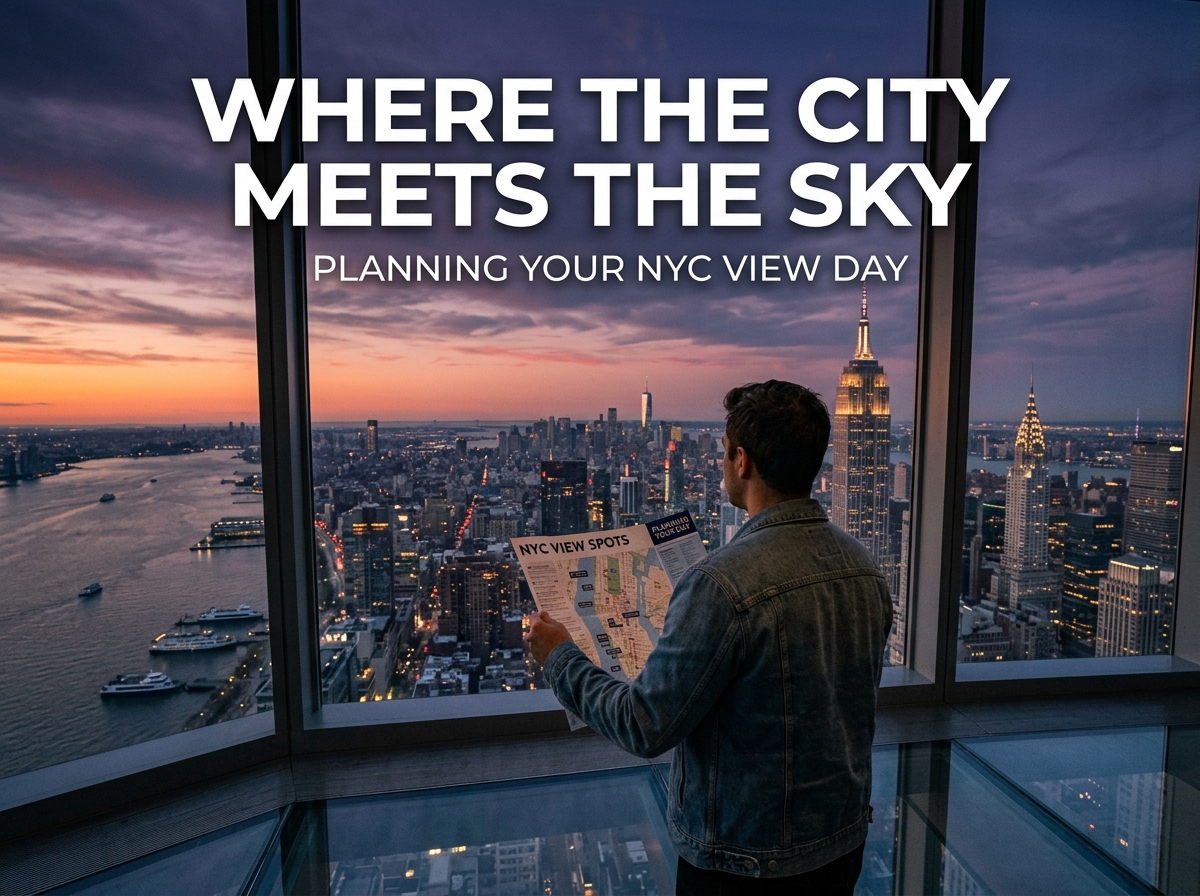
New York City rewards visitors who look up, slow down, and plan around changing light. A skyline-focused day can combine architecture, waterfront walks, neighborhood meals, photography, and a memorable evening view without turning into a rushed checklist. Start by choosing one signature experience, such as checking events at the Empire State Building, then build the rest of the day around nearby places you can enjoy at a comfortable pace.
The best skyline day is not necessarily built around the highest deck or the longest route. It is built around the kind of view you want, the weather you get, and your group’s energy level. A bridge, park bench, ferry deck, elevated walkway, or downtown street can create a New York moment that feels just as striking as a paid observation point.
Why Plan a Day Around the Skyline?
New York looks completely different from street level than it does beside the river or above the rooftops. Planning around the skyline gives structure to the day while leaving room for discovery. You can pair one panoramic stop with a park, a neighborhood walk, a relaxed meal, and an evening location where the buildings glow after dark. Just as importantly, a compact plan prevents you from spending hours crossing the city only to repeat similar views.
Choose the Right Type of View
Choose the setting before you choose the attraction. Each angle tells a different version of the city.
- High viewpoints: Best for broad panoramas, landmark spotting, and seeing how neighborhoods connect.
- Waterfront parks: Best for open skies, reflections, casual photos, and slower afternoons.
- Bridges and elevated paths: Best for close tower views, river traffic, movement, and strong photo lines.
- Boat routes: Best for groups who want a seated experience and a wide, uninterrupted perspective.
- Street-level corridors: Best for framed views between buildings and the feeling of being inside the city.
Use a simple decision guide. Pick a high viewpoint for a classic panorama, a waterfront stop for a relaxed outing, a bridge walk for movement and photography, or a boat ride when comfort matters more than walking distance.
Check Weather and Air Quality
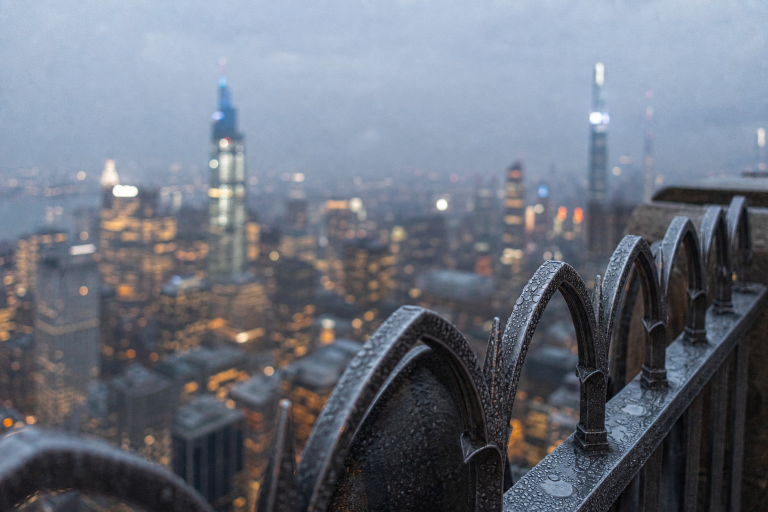
Cloud cover, humidity, haze, rain, and wind can transform a skyline view. Clear air often matters more than a perfectly sunny forecast, especially when you hope to see distant landmarks. Check a local forecast through the National Weather Service forecast tools shortly before leaving and again before any timed entry, boat ride, or sunset walk. During smoky or hazy conditions, review current readings through local air-quality updates and be willing to change the plan. Bring a light layer even in warm weather because waterfronts, bridges, and open-air decks can feel noticeably cooler and windier than nearby streets. Keep an indoor backup, such as a museum, market, café, or architectural lobby, in case the view disappears behind clouds.
Build a Simple Walking Route
A good route has one anchor, not five. Begin with the stop with the strictest reservation time, then add a nearby public space, a meal option, and an easy route to your evening view or transit connection.
- Book or confirm the main viewpoint first.
- Add one park, waterfront, bridge, or historic district within easy reach.
- Choose a meal stop that does not require a long detour.
- Finish near a sunset location or a subway line that makes the trip home simple.
Check actual walking distances instead of judging by a map at a glance. Leave time for elevator lines, security, busy sidewalks, restrooms, subway transfers, and spontaneous stops. A skyline day should include pauses, not just movement.
Pick the Best Time of Day
- Morning: Cooler temperatures, gentler light, and often lighter crowds.
- Midday: Bright detail and crisp color when visibility is good.
- Golden hour: Warm light that adds depth to stone, steel, glass, and bridges.
- Blue hour: The brief period when the sky remains blue as city lights begin to appear.
- Night: Dramatic contrast, illuminated windows, and a more energetic atmosphere.
Sunset changes significantly throughout the year, so check the exact time for your visit date. Arrive early for popular evening locations, especially on clear weekends.
Use Easy Skyline Photography Tips
For phone photographers
- Clean the lens and turn on the grid to keep the horizon level.
- Lower exposure when bright windows or signs look washed out.
- Use water, puddles, windows, trees, railings, and people to add scale and depth.
- Take wide scenes, then capture smaller architectural details that tell the story of the place.
For camera users
Bring a spare battery, protect gear from rain and wind, and use a faster shutter speed on bridges or crowded paths. Carry a small tripod only where permitted, as many popular locations restrict its use.
Set a Realistic Budget
Account for one paid viewpoint or special experience, transportation, meals, snacks, and any optional boat ride or guided walk. Save money by using free parks and public paths between paid activities, choosing one premium view instead of several similar ones, and eating a meal a few blocks away from the busiest tourist areas.
Plan for Comfort and Accessibility
Before committing to a route, check accessible entrances, elevator access, restrooms, seating, and path surfaces. Build in extra time for children, mobility devices, older travelers, or anyone who benefits from frequent breaks. Comfortable shoes, water, a portable charger, and weather-ready layers can make the difference between an enjoyable walk and an exhausting one.
Add a Seasonal City Moment
A seasonal event can give the day a focus without taking over the itinerary. In spring and summer, sunset alignments such as Manhattanhenge can inspire a route, while fall foliage, holiday lights, or a clear winter night can shape plans later in the year. Check current event details, transit notices, and crowd expectations before you go, then keep a nearby alternate viewing spot in mind.
Sample One-Day Skyline Plan
- Morning: Have breakfast near your first viewing area.
- Late morning: Visit a high viewpoint or architectural landmark.
- Early afternoon: Walk through a nearby park, waterfront, or historic district.
- Lunch: Choose a casual place away from the busiest block.
- Mid-afternoon: Explore a second, contrasting view from ground level or the water.
- Golden hour: Return to a planned photo location.
- Evening: End with dinner, city lights, or a seasonal activity.
Avoid Common Planning Mistakes
Do not book multiple viewpoints with nearly identical perspectives. Avoid ignoring the forecast, overpacking the schedule, underestimating transit time, or planning a long outdoor route without considering wind and heat. Most of all, do not try to photograph every landmark in one day. One well-timed view, a practical route, and enough time to enjoy the streets below will create a far better New York City experience.
Conclusion
A great New York City skyline day is less about seeing every possible viewpoint and more about choosing the right experiences for your interests, budget, and pace. Start with one signature view, then build a simple route around nearby walks, food, architecture, and waterfront spaces. Check the weather and air quality before leaving, choose your timing carefully, and keep an indoor alternative available when conditions change. Comfortable shoes, realistic travel times, accessibility planning, and a few basic photography tools can also make the day easier to enjoy. Most importantly, leave room for the city itself to become part of the experience. A spontaneous street scene, an unexpected sunset, a quiet park, or a beautifully framed building may become more memorable than anything on the original itinerary. With thoughtful planning and enough flexibility, your skyline-focused day can feel relaxed, scenic, and distinctly New York.