A home can have a capable heating and cooling system and still contain rooms that are too warm, too cold, stuffy, or expensive to condition. The reason is simple: every room gains and loses heat differently. A room-by-room HVAC plan helps you identify those differences before investing in equipment, duct changes, insulation, or controls.
Whether you are renovating an older house, finishing a garage, adding a home office, or trying to solve persistent hot and cold spots, start with the building and the way you use it. Homeowners exploring flexible room-based options can learn more about a ductless approach while comparing it with central systems and other solutions.
Why Room-By-Room Comfort Matters
One thermostat measures conditions in one location, not in every bedroom, office, or addition. South- and west-facing rooms can overheat in the afternoon sun. Rooms above garages often lose heat through the floor. Finished attics, enclosed porches, and older additions may have weaker insulation or airflow than the main house. Daily use also matters: a guest room may need limited conditioning, while a home office may need reliable comfort all day.
For spaces without practical duct access, ductless heat pumps can heat and cool individual areas with separate controls. That flexibility can be useful, but it does not replace thoughtful planning around insulation, sizing, placement, and airflow.
Start With A Home Check
Do not assume a comfort problem means the existing equipment is too small. Inspect the home first. Air leaks, blocked supply registers, leaky ducts, poor attic insulation, unshaded glass, and furniture blocking returns can all create uneven temperatures.
Items To Review
- Window and door seals, plus gaps around plumbing, wiring, and recessed fixtures.
- Attic, wall, and floor insulation, especially over garages or crawlspaces.
- Existing ductwork for disconnected runs, crushed sections, and obvious leakage.
- Room dimensions, ceiling height, window direction, and strong afternoon sunlight.
- Heat from cooking, electronics, laundry equipment, and frequent occupancy.
Map The Comfort Zones
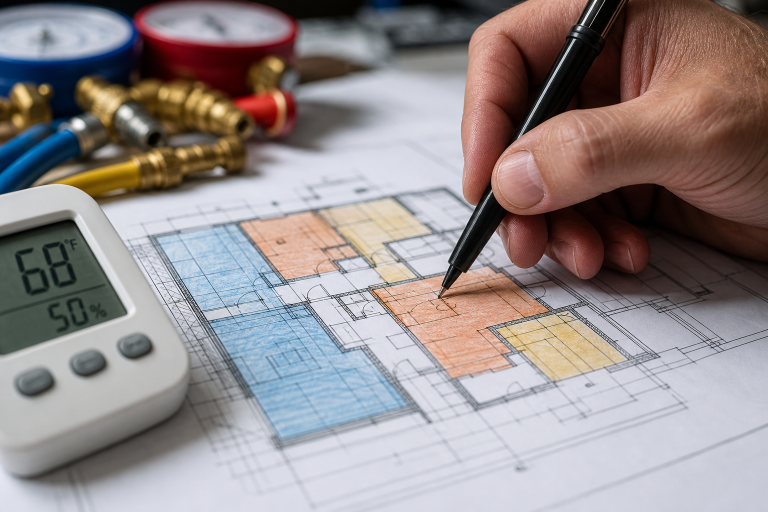
Create a simple room list before comparing systems. Record the room’s size, how it feels, when the issue occurs, and how often people use it. Then group nearby rooms that have similar schedules and temperature needs. Bedrooms on the same shaded side of the home may share a zone, while a sunlit office with computers may need its own solution.
- List every space that needs heating or cooling.
- Mark rooms that are regularly too warm, cold, humid, or drafty.
- Note the time of day and weather conditions when problems appear.
- Assign each room a priority based on how often it is occupied.
- Identify rooms that can reasonably share a temperature setting.
Choose The Right System Type
There is no universal answer. Central HVAC can be a strong choice when existing ducts are properly sized, sealed, and balanced. Ductless mini-splits can suit additions, garages, older homes, or isolated problem rooms where adding ducts would be disruptive. Multi-zone systems can serve several areas with individual indoor units, while room air conditioners or window heat pumps may be practical for a single limited space.
Choose based on the home’s layout, existing infrastructure, local climate, appearance preferences, and the level of room-by-room control you actually need. Avoid adding separate equipment to every room unless the comfort map shows a real benefit.
Size Each Zone Carefully
Bigger is not automatically better. Oversized equipment can cycle on and off too often, reducing efficiency and leaving indoor air less comfortable during humid weather. Undersized equipment may run continuously and still fail to reach the desired temperature. Floor area alone cannot account for ceiling height, insulation, windows, climate, occupancy, and heat-producing appliances.
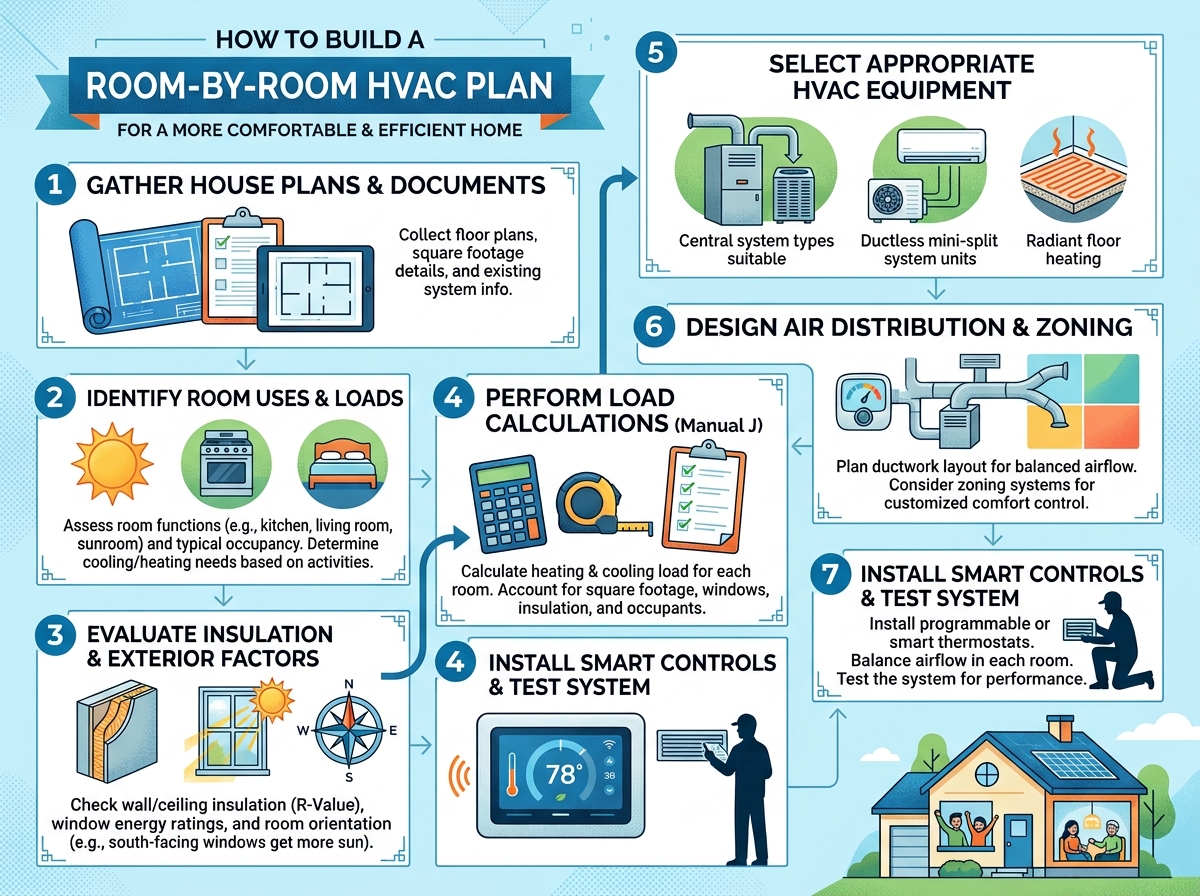
Ask for a professional load calculation, commonly called Manual J, before committing to equipment sizes. The calculation should consider each room or zone, then confirm that indoor units, outdoor equipment, and any existing central system work together.
Plan The Indoor And Outdoor Layout
Placement affects performance as much as equipment selection. Indoor units need a clear path to distribute air across occupied areas, so avoid locations hidden behind tall furniture, curtains, or room dividers. Remember that airflow does not move effectively through closed doors, which can limit one unit’s ability to serve multiple rooms.
Outside, allow open airflow and service access. Keep equipment away from roof runoff, deep snow accumulation, vegetation, and locations where defrost water could freeze near a walkway. Also, plan for drainage, electrical access, line routing, mounting strength, and any local permit requirements before installation begins.
Compare Costs And Energy Use
Compare the full project cost, not just the price on the equipment box. Include labor, electrical upgrades, mounting hardware, condensate drainage, permits, air sealing, insulation improvements, and future maintenance. A lower equipment price can become less attractive if installation requires major electrical or structural work.
Efficiency ratings help with comparison. SEER2 describes seasonal cooling efficiency, EER2 reflects cooling efficiency under a specific test condition, and HSPF2 measures seasonal heating efficiency. Higher ratings can reduce energy use, but savings still depend on local utility prices, winter temperatures, thermostat habits, and the condition of the home.
Know When To Call A Professional
Homeowners can document comfort issues, measure rooms, clear airflow paths, and handle routine cleaning. Refrigerant connections, electrical circuits, structural mounting, load calculations, and code compliance often require qualified help. This is especially important when a new system will operate alongside an existing furnace or central air conditioner. Coordinating supplemental equipment with an existing HVAC system can improve comfort, but it requires a clear control strategy.
Keep The System Running Well
- Clean filters when visibly dirty or when the system indicates service is needed.
- Keep indoor and outdoor airflow paths free of dust, leaves, and clutter.
- Watch for unusual noise, odors, water leaks, weak airflow, or repeated cycling.
- Use steady temperature settings when practical rather than large daily swings.
- Schedule professional service if performance changes or drainage problems appear.
Common Planning Mistakes
- Choosing capacity from the total square footage alone.
- Ignoring insulation and air leakage before replacing equipment.
- Expecting one wall-mounted unit to condition rooms behind closed doors.
- Forgetting electrical capacity, drainage, and maintenance access.
- Focusing only on upfront cost instead of comfort and operating costs.
- Skipping permit, code, or contractor requirements.
Final Checklist
- Document each room’s comfort concerns and schedule.
- Address obvious air leaks, insulation gaps, and airflow restrictions.
- Group rooms into practical comfort zones.
- Use a room-based load calculation for final sizing.
- Confirm placement, drainage, wiring, and service access.
- Review permits, local incentives, and maintenance needs.
A more comfortable home begins with a clear understanding of how each room behaves. By evaluating the building, mapping comfort needs, and matching the system design to real room loads, you can avoid costly oversizing and create steadier comfort throughout the year.